
Takeaway:
– The setup is the most important part of the deadlift. It will dictate the performance of your lift.
– Think of the deadlift not only as a pull, but a push too. Push your heels through the floor and stand up explosively!
– Practice the movement and perfect your technique. Choose accessory work that’s specific to strengthening your weaknesses.
The deadlift is arguably the ultimate test of strength. There aren’t too many things more basic than picking a heavy weight off the floor. While deadlifting looks easy, it requires a great deal of practice to master the technique.
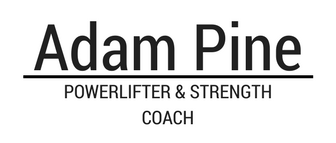
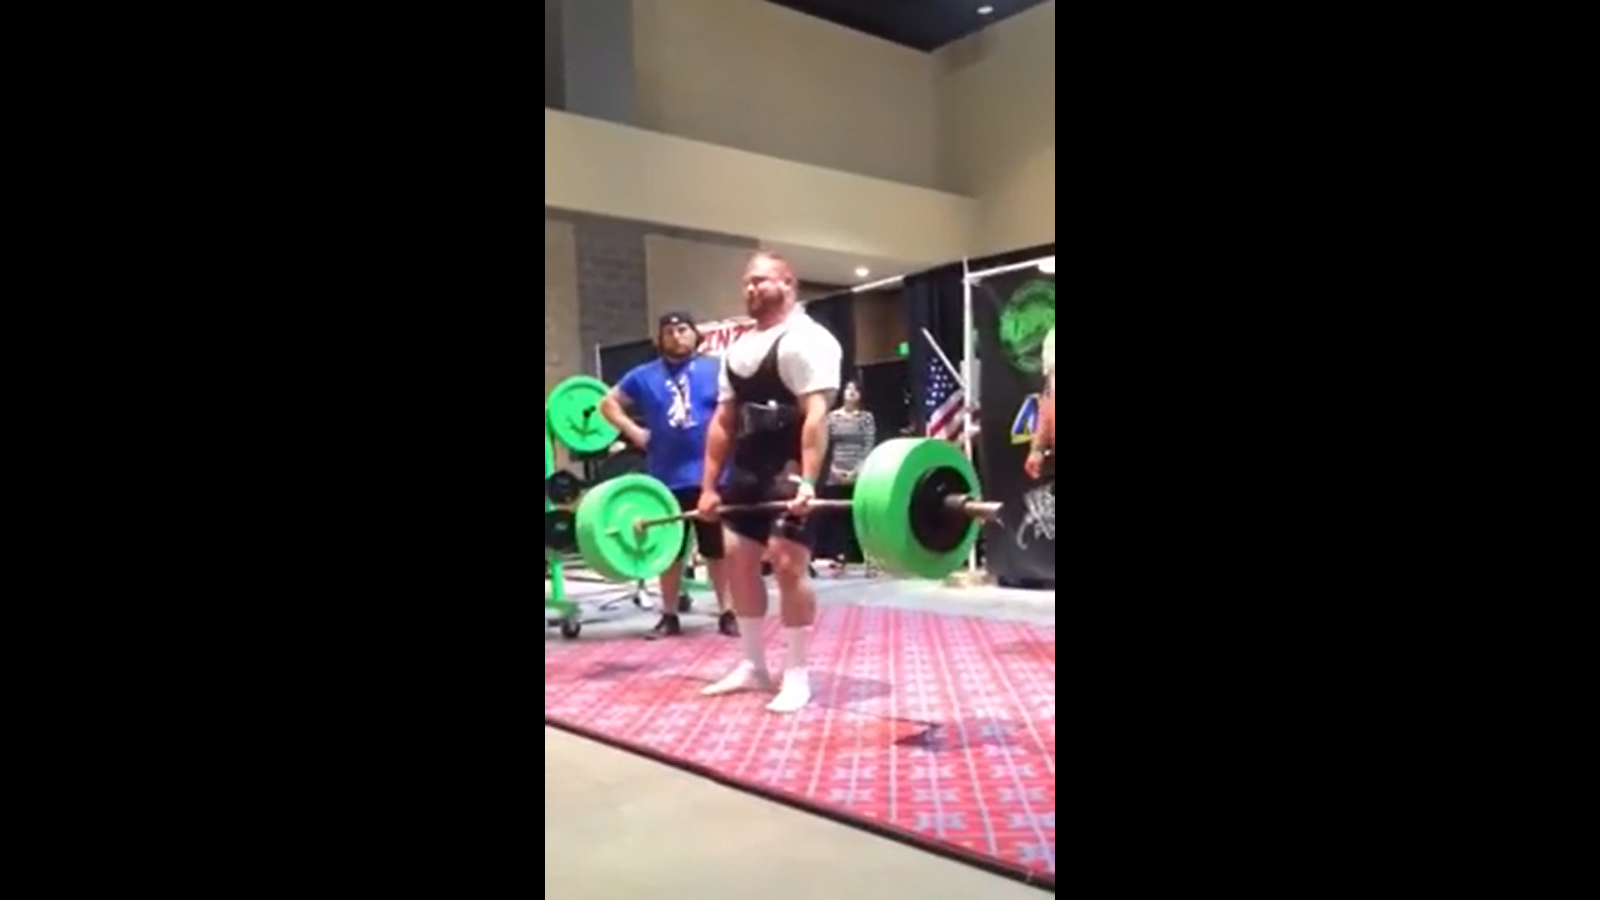
Here is a video of my first 700lb raw deadlift:
The benefits of deadlifting include increased strength, hypertrophy, performance, and injury prevention when done properly.
Here are three tips that will help you improve your conventional deadlift.
The Setup
Try to make the setup automatic. Make a mental checklist for every set. Review the setup in your head and go through each part of the process. When this becomes automatic, focus on moving the weight as fast as possible.
There are many ways to setup and perform the deadlift. It is important to find what your strongest stance and setup will be. If you are unsure, I suggest following these guidelines:
- Stand close to the bar. Your shins can be touching to an inch or two away from the bar. Feet remain flat on the ground, close together, hip width or narrower.
- Let your arms hang by your sides and your hand rest by your hips, this is where you will want to grip the bar.
- Get your arms as long as possible. Arms stay straight the whole time.

- Take a deep breath into your entire torso, starting with the lower back and traveling up. Brace your abs HARD! Brace through the entirety of the lift. You can take your air at the top or in the bottom position of the setup. Hold you air until you finish the lift.

- Push your glutes back into the wall behind you. Hinge at the hips. Push your glutes back as far as you can until your hamstrings prevent you from moving them any further. Don’t let your back round. Keep your legs relatively straight, bent at the knees just so they are not locked out (“soft” knees). Your shins should stay vertical the entire time. Your weight stays on your heels.
- Choke the bar! Grip it tight using one hand over, one hand under.
- Pull the slack out of the bar. Keep your lats tight and use them to pull the tension out of the bar. If you struggle with this, have someone tap on your lats while trying to pull the slack out.
- Use the weight as a counter balance, drive your body weight onto your heels. Pull your hips down into place and drive your chest up. Everyone should be able to see the logo on your t-shirt. At this point, there should be a tremendous amount of tension on the bar. You should fall backwards if you were to let go of the bar. Don’t dip your hips too low, it’s not a squat.
- Leave an imprint in the floor of each heel! Stand up through your heels explosively! You should push your heels so hard through the floor that they melt into it. Keep the bar close to your body the entire time.
Technique and Performance
Much of the performance lies in the setup. While this is true of many lifts, it is probably even more so with the deadlift. Because the deadlift is a concentric lift (just standing up with the weight), so much is determined by how you setup to it.
Once you have the setup down, think about being as explosive as possible. Your goal should be to get bar off the floor to lockout as FAST as possible.
While the deadlift is often referred to as a pull, I would like you to think of it as a push too. To break the weight off the floor you must stay tight and push your heels into the ground as hard as possible!
Pushing your heels through will prevent your hips from shooting up. Once your knees have locked out, you can no longer push your heels into the ground.
Keep pushing until the bar passes your knees. Lockout by continuing to push through the heels and pulling your hips through via your glutes – try to crack a walnut between your butt cheeks.
Stand tall with a proud chest. Do not hyperextend your low back through to lockout.
After locking out, put the bar down reverse how you picked it up.
Choosing Assistance Work
It is important to identify your weaknesses. Generally it’s off the floor or at lockout. Off the floor will refer to anything below the knees and lockout will refer to anything above the knees.
Regardless of your sticking point, I recommend a lot of submaximal conventional deadlifting. You need to practice the deadlift, hone your technique, setup, and execution. Errors in technique will make it more challenging to determine where your weaknesses really are.
If your goal is to improve your deadlift strength, you need to practice the movement itself. Give yourself a lot of opportunities to perfect your technique. Once your technique is on point determine what your weaknesses are and attack them.
“Practice does not make perfect. Only perfect practice makes perfect.” – Vince Lombari
Make all your deadlift rep work like speed work! Pull each rep as fast as you possibly can. Practice pulling fast, warm ups too!
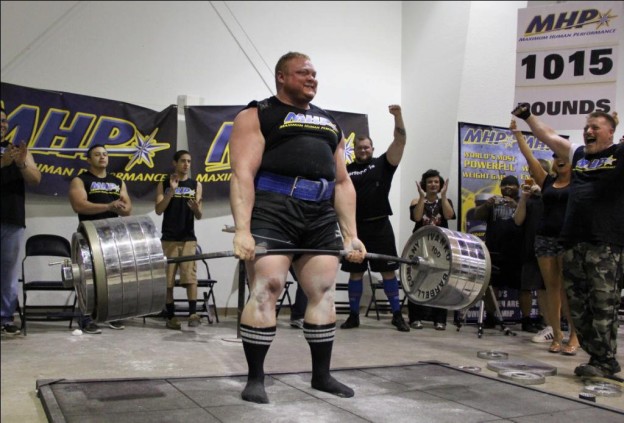
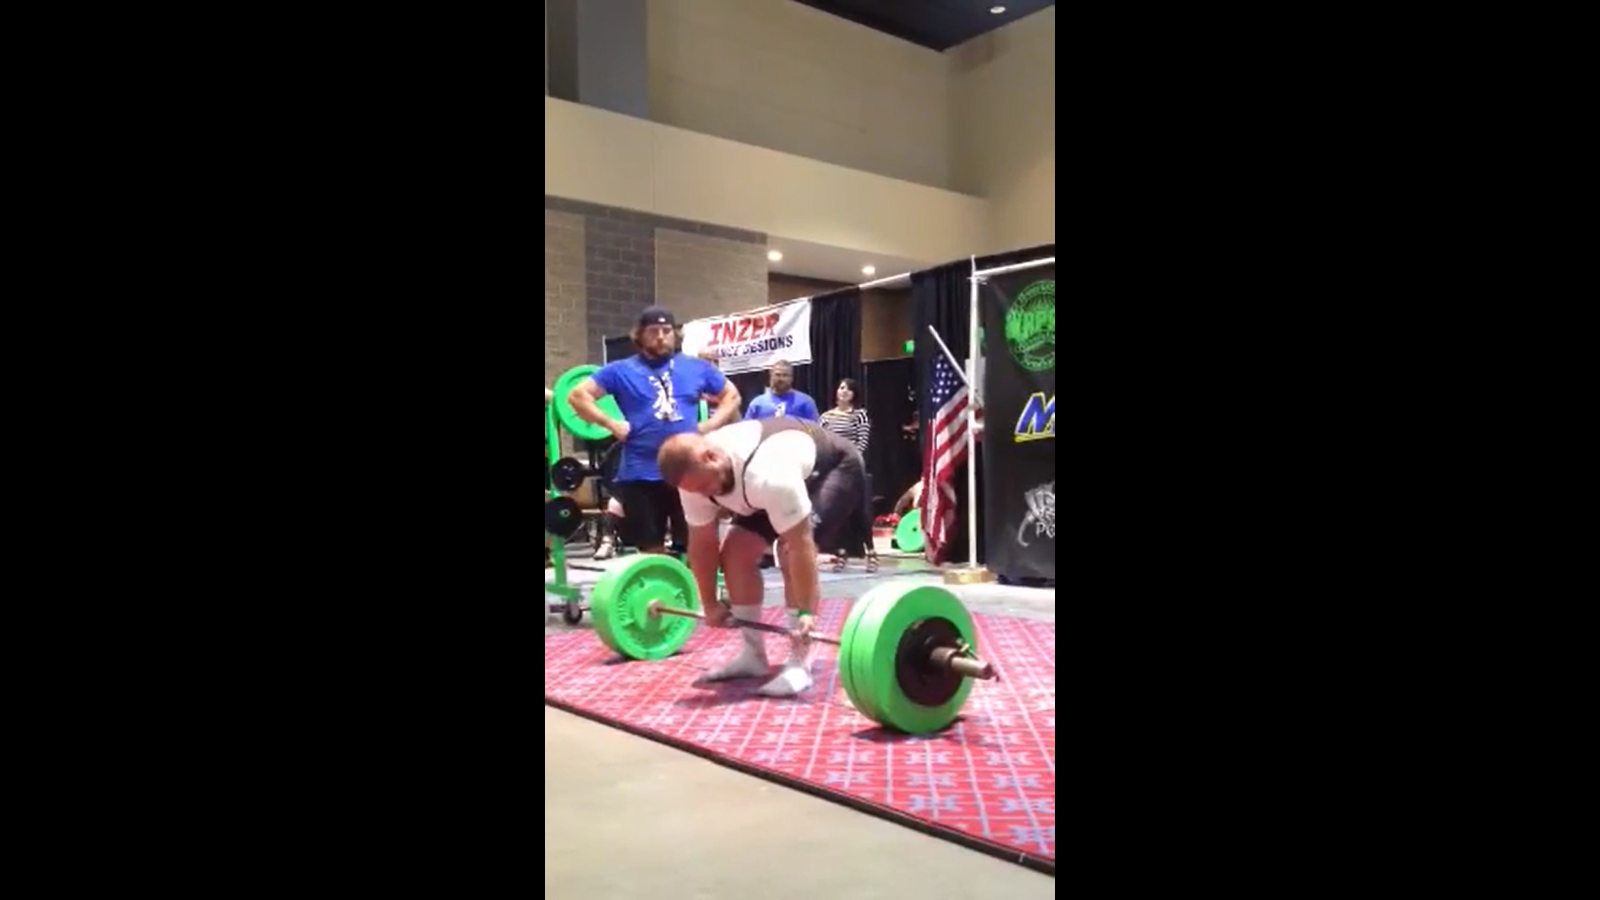
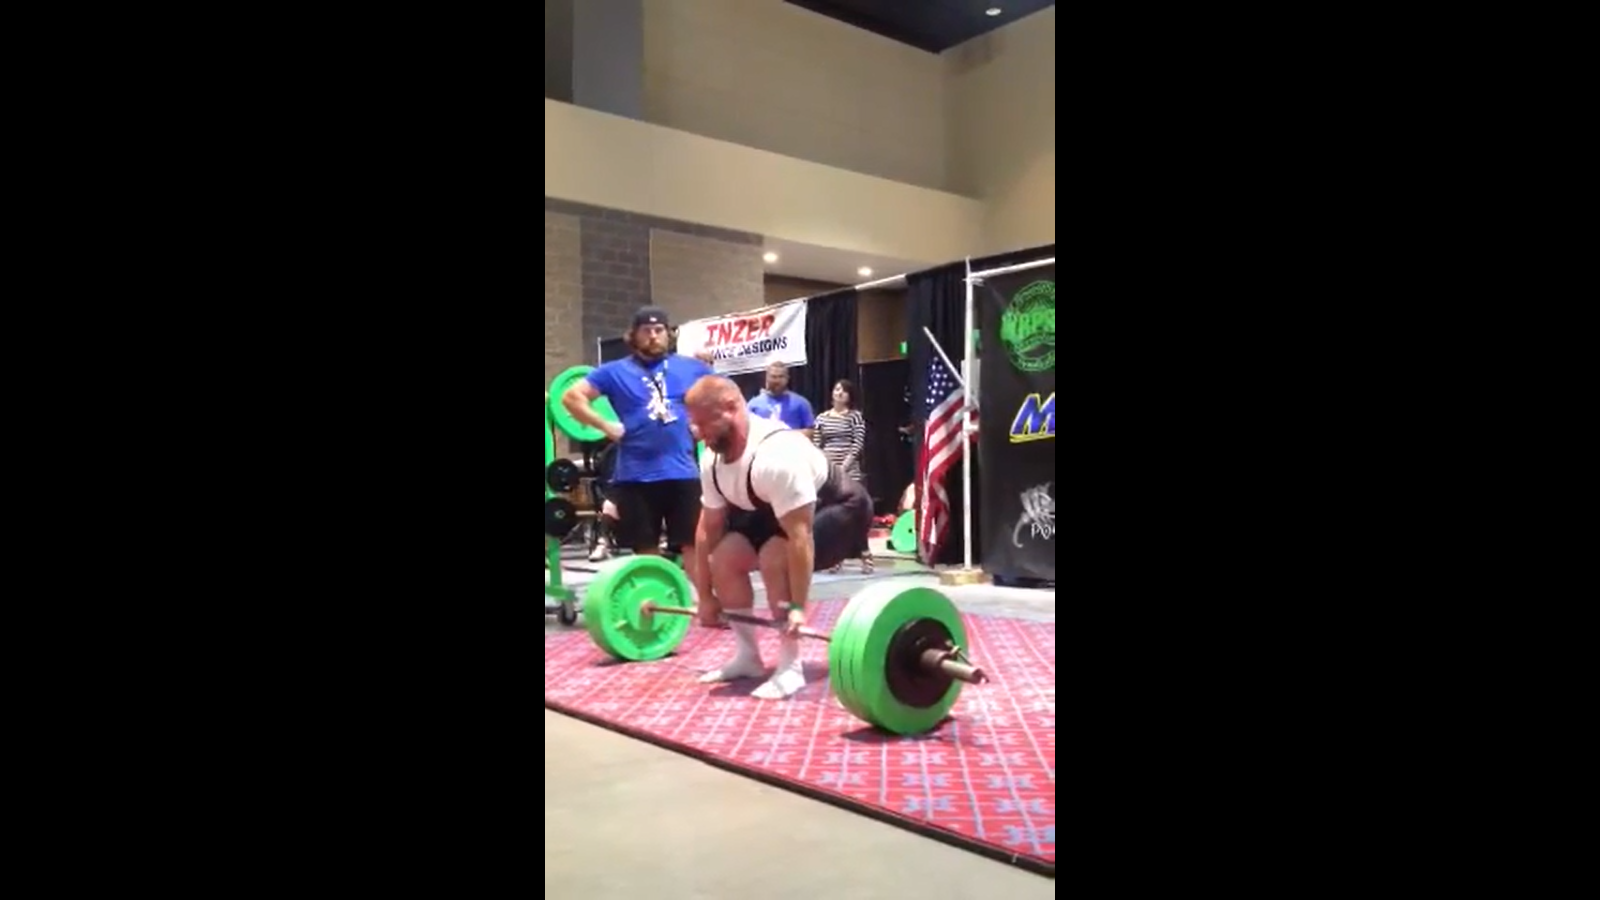
Here is a video of me doing 610 for a triple:
Off the Floor
If you can lock out pretty much anything, but have trouble moving it off the floor, take a look at [this article] I wrote.
Other movements that will help you move the weight off the floor are:
Romanian Deadlifts (RDL)
RDL’s are great for building up your hamstring, glutes, lower and upper back. They are great for improving your strength off the floor and at lockout.
The RDL will begin from the locked out position rather than the floor like a conventional deadlift. Setup for the deadlift with straight legs, bent slightly so they are not locked out. Hinge at the hip, driving your hips back to the wall behind you. Keep your back flat, your torso will be parallel to the floor in the bottom position. Accelerate through the lift by locking out your knees and pulling your hips through via your glutes.
Only lower the bar as much as you’re capable of without your back rounding. Your hamstrings will limit how far the bar will travel. You may only be able to go as far as the bar travelling to your knees or just below. This is considered a normal range of motion.
Rows
There are no secrets to building a big, strong upper back; barbell rows, dumbbell rows, and t-bar. These horizontal rows are basic and they work!
Building your back is good no matter what your sticking point is. A strong back will make it easier to keep the bar close to you. If the bar travels away from you during the deadlift it can cause your low back to round. If you experience this, it could be due to weak lats.
Lockout
If you are struggling at lockout give these movements a try.
Block Pulls
I prefer block pulls to rack pulls (bar sits on the safety pins of a power rack) because it feels more like deadlifting from the floor. You will have to pull the slack out of the bar unlike rack pulls. Both are great for building strong upper backs.
Put the weights on blocks (raised platforms) at or just below your sticking point. Try to pull the weight with the same technique you would from the floor.
Block pulls can be done from just about any height, so they can be done to improve either sticking point.
Deadlift vs. Chains

As you lift the load off the floor the chains will rise from the floor as well, increasing in weight as you approach lockout.
This movement will allow you to lift a lighter weight off the floor and overload the top of the lift. If you struggle at lockout this is helpful. It can also be helpful if you struggle off the floor as it teaches you to be explosive.
This is a great movement and is fairly specific to the deadlift. It is performed just like a deadlift from the floor providing great carryover.
Reverse Band Deadlift
Reverse band deadlifts work similarly to chains. The weight is lighter at the bottom and increases as you approach the top. The bands provide assistance at the bottom of the lift and little to none at the top.
You can overload this movement because the bands will provide assistance at the bottom of the lift. This is great for boosting your confidence. Just make sure you’re not adding too much band tension and performing this lift too often.
Attach the bands to safety pins in the power rack. The height and band strength you use will depend on how much assistance you want.

Want a bigger deadlift?
Send me an email at: adamnpine@gmail.com with “DEADLIFT QUERY” in the subject line.

Pingback: Simplify Your Deadlift - Bret Contreras
Pingback: Brain Gainz (7/15/15) | RC Strength